- About Pims
- General
- User Interface: Web
- User Interface: Win
- Administration Tools
- Procedures
- Completion Management
- General
- Setup and Configuration
- Engineering
- Field Inspection with Mobile Apps
- Project Overview
- Handovers
- Commissioning
- Scanning
- Documents and Drawings
- Windows Client
- Reference Materials
- Document Control
- General
- Managing Documents
- Accessing/Searching for Documents
- Subscribing to a Document
- Creating New Documents
- Creating Missing Document as Contractor
- Creating New Document Revision
- Reserving Revisions
- Document Profiles
- Creating native files PDF rendition
- Adding Cover Page
- Uploading New Revisions as Contractor
- Initiating Internal Collaboration
- Initiating a Document Approval
- Editing a Document Approval
- Deleting, Voiding, Superseding a Document
- Moving Document Data Between Profiles
- Checking up on Documents' Status
- Distributing Documents for Information
- Distributing Documents Using Trays
- Sending Document Reminders
- Exporting Documents as Importable Datasheets
- Offline Archives
- Importing an MDR
- Modifying Import Data
- Processing Documents Submitted by Contractors
- Distributing Documents (older version)
- Documents Import and Export (older version)
- Sharing Documents and Correspondence
- Managing Interface Documents
- Redlining Documents
- Managing Reviews
- Initiating a Document Review
- Editing Review
- Sending Review Reminders
- Adding Reviewers
- Removing Reviewers
- Performing a Review with PDF files
- Performing a Review non-PDF Files
- Performing a Review with SharePoint
- Consolidating Comments
- Returning Reviewed Documents to Contractors
- Viewing Review Comments as Contractor
- Responding to Review Comments as Contractor
- Managing Review Response Replies
- Tracking Review Status
- 3rd Party Verification
- Status of a 3rd Party Verification
- Managing Correspondence
- Operations Phase
- Understanding Asset Domain
- Understanding Site Modifications Domain
- Managing Site Modifications
- Adding Documents to Site Modification
- Handing over Documents to Operations
- Managing Conflicts in Site Modifications
- Managing Distribution Setup in Site Modifications
- Concurrent Engineering - Alternative Way of Handling Site Modifications
- Managing Certificates
- Setup and Configuration
- Setting up a Contract
- Managing Distribution Setup
- Importing Distribution Setup
- Inquiring Distribution Setup Input
- Managing Correspondence Distribution Templates
- Managing Documents Distribution Templates
- Setting up Distribution Groups
- Setting up Email Templates
- Setting up Offline Archives
- Setting up SharePoint Integration
- Setting up SharePoint filename template
- Setting up Document Cover Page Template
- Setup and Configuration
- Miscellaneous
- Cost Management
- General
- Project Control Basis
- Contracts Management
- Change Management
- Personnel
- Progress Measurement
- Interfaces
- Reporting
- Windows Client
- Workflows
- Quality Management
- General
- ITP Register
- Surveillance Register
- Activity Register
- Activity Details Management
- Activity Plan
- Checklist Register
- Finding Register
- Export, Import, Copy or Move Activity
- Program Register
- Configuration - Domain
- Configuration - Global
- Risk Management
- General
- Add New Risk
- Risk Register
- Risk Details Management
- Risk Assessments
- Actions Register
- Action Details Management
- Risk Plan
- Risks Dissemination
- Export, Import, Copy or Move Risks
- Risk Dashboard
- Configuration - Domain
- Import Setup
- Risks - Risk Breakdown Structure
- Risks - Inputs Labels
- Risks - Show/Hide Functionality
- Risks - New Risk
- Risks - Fields Setup
- Risks - Dropdown Values
- Risks - Multiple Choice
- Risks - Keywords
- Risks - Lifting Functionality
- Assessments - Configuration
- Assessments - Project Borders
- Actions - Show/Hide Functionality
- Domain Settings - Notifications
- Configuration - Global
- Configuration - Roles
- Desktop legacy user guides
- Reporting
- HSE Management
- Preparation & Execution System (PES)
- PES Release Notes
- About
- Administration
- Asset and Plant register
- Case Register
- Checklists
- Compliance Activities
- Compliance settings
- Contact Lookup
- Courses
- Currencies
- Default Colors
- Definitions and abbreviations
- Delivery Lines
- Disciplines
- Documents
- Locations
- Packages
- Position
- Position Settings
- Punch Items
- Statuses Overview
- Sub Systems
- Subsystem Handover Status
- Tag Register
- Tasks
- Work Breakdown Structure (WBS)
- Digital Procedures
- Handover
- Meetings
- Organization
- Personnel On Board (POB)
- Portal
- Progress & Trending
- Project Assurance
- Service Request
- Work Process
- Planning & Scheduling
- Material Management & Logistics
- About Material Management & Logistics
- Stock & Materials
- Procurement
- Warehouse & Packing
- Shipping & Logistics
- Rental Items
- Tool Request
- Settings
- Work Preparation & Work Order
- Work Preparation Request (WPR)
- Work Order (WO)
- Work Order Settings
- Work Orders - Settings Overview
- Work Order - Default Attachments
- Work Order - Types
- Work Order - Requirements
- Work Order - Checkpoints
- Work Order - Mhrs Type
- Work Order - Trades
- Work Order - Phases
- Work Order - Keywords
- Work Order - Hold Codes and Job Status
- Work Order - Factor sets
- Work Order - Settings
- Work Order - Norms
- Work Permit (WP)
- Livening Up & Down Notice (LUDN)
- Overtime Request Register (OTR)
- Query Management
- Query Managment - User Guide
- Workflow Modules
- General
- Setup and Configuration
- Controls
- Action Tracking
- Concessions / Deviation Requests
- Interface Management
- Management Of Change
- Technical Queries
- Lessons Learned
Common Functionality
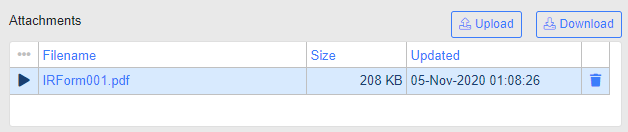
Attachments
Clicking the upload button will display a popup where user can select files to upload, uploaded files will appear in the grid once uploaded successfully.
Comments
Write your comment into the field and click the save button when completed, if you have any attachments these can be added by clicking the add attachment button.
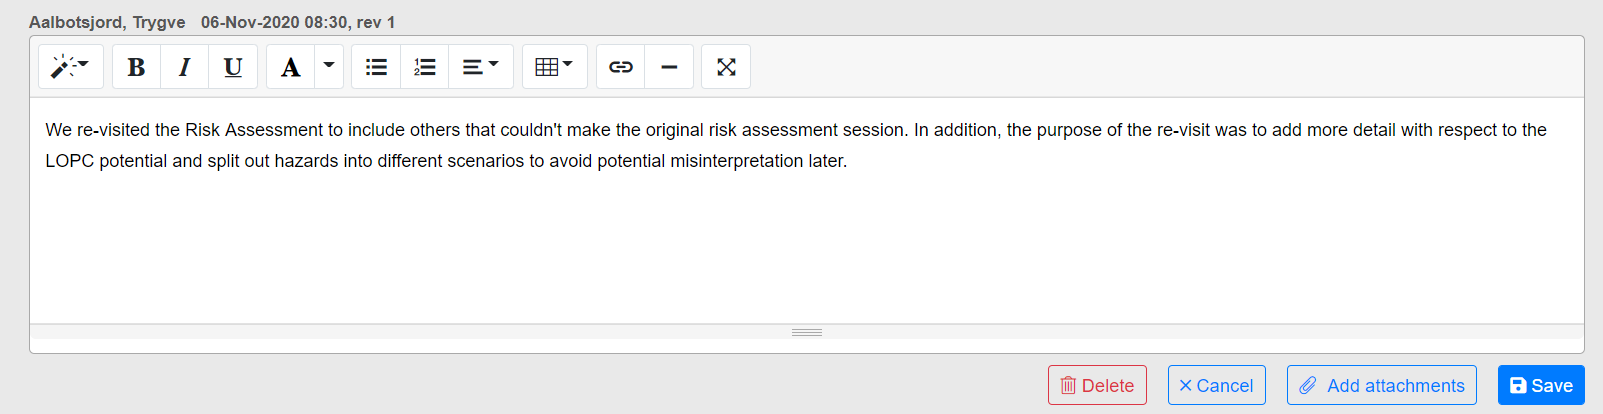
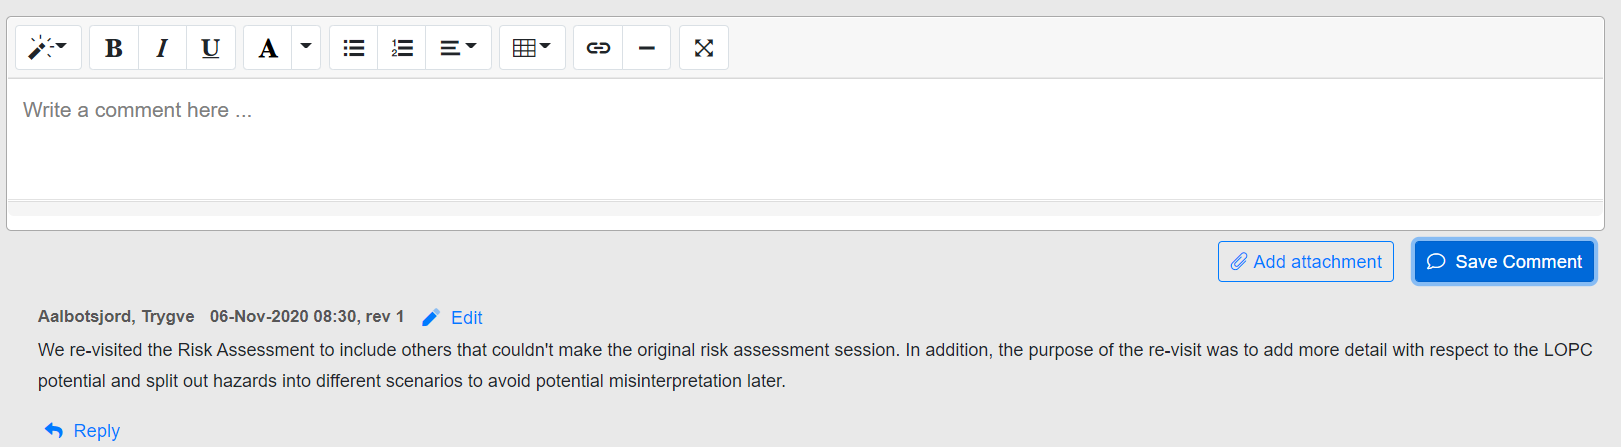 Comments can be edited by the user that created the comment, the user can also remove his comment if needed. Though there are some rules for when editing/remove is allowed on a comment.
- No Reply has been added to the comment.
- No comments has been added by another users after the comment was added.
- No signatures has been performed by another user after the comment was added.
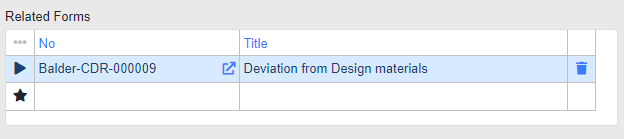
Related Forms
You can assign related forms to a workflow by clicking in the empty row (indicated by a star) and then in the "No" cell, and in the lookup that appears you can filter on the workflow you want to relate. Once saved it will display the form number with a link to the form, and the Title of the form.
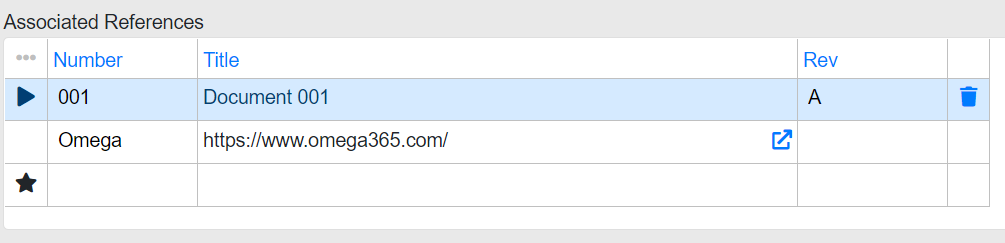
Associated References
You can input associated references onto a form. These can be hyperlinks to a document stored in another location, or simply reference the number and title of a reference.
Actions
In some of the workflows you are able to raise actions which will generate a new action in the Action Tracking workflow. You can raise several actions against a workflow, and the workflow becomes the action source for the actions. To raise a new action you click the "Add Action" button, and a dialog will appear. This dialog requires you to input a Title and will if possible default the Confidentiality Level and Delivery Line to that of the workflow. If the workflow does not use these fields you will need to select these values as well. Once the mandatory fields are filled you click "Ok" and the new action will be raised and opened in a new window/tab. The action details will appear in the actions grid in the workflow, and by clicking the "Action No" you will be taken to the action workflow

It is also possible to link existing actions to the workflow. To do so you click the "Add Action" button, and in the dialog that appears you select the "Link existing" tab. You can select from existing actions in the lookup, and once you have selected the correct one you click "Ok" to link in the action. If you have selected a linked action in the grid you will get an option to unlink the action. If clicked the link will be removed.
Workflow Header Menu Options

- Save - Allows saving any changes done to the form.
- Cancel - Allows reverting any unsaved changes.
- Void - An option for administrators / super users that allows voiding the form. A voided form is not included in any calculations or dashboards. Please see further below for additional information.
- Raise Revision - An option for administrators / super users that allows incrementing the revision of the form, and put it back to any previous or current step. Please see further below for additional information.
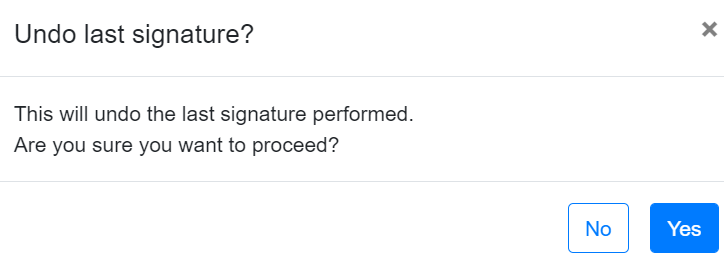
- Undo Last Signature - An option for administrators / super users that allow re-opening of a signature without doing a full recycle or raise revision of the form, and simply put the form back to the last person who signed off. Typically used if a user signed off in error or forget to add some details before signing off, and they can then reach out to an admin or super user to ask them to do this to allow them to re-sign after.
- Reassign - Allows reassigning any open signature on the form. Please see further below for additional information.
- User Guide -Opens a new tab with the user guide.
- Workprocess - Opens a modal dialog showcasing the workflows work process diagram / Dynamic Workprocess workflow chart.
- Print - Allow printing the form in PDF.
- Log- Opens a modal dialog showing a log over:
- Revision - Lists all revisions of the form with a link to open that particular revision.

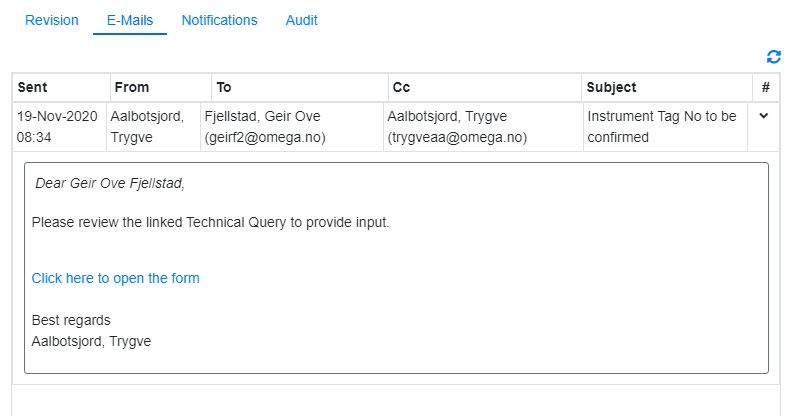
- E-Mails - Shows a log of any emails sent using the "Email" option from the workflow header menu.
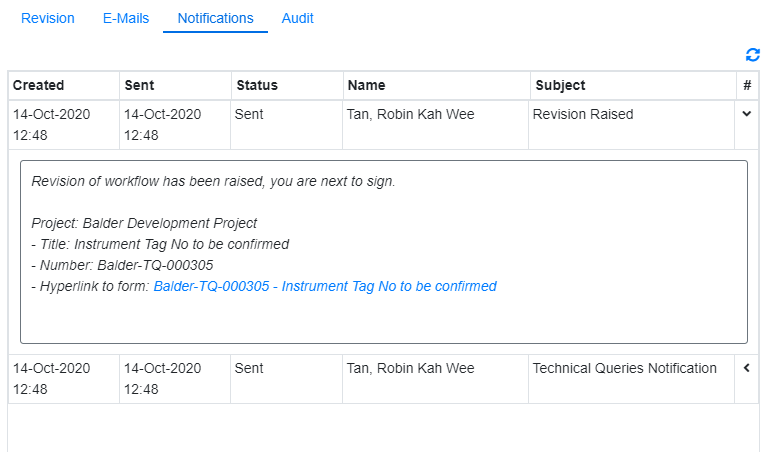
- Notifications - Shows a log of any system generated emails sent, i.e. next to sign emails when signatures are performed.
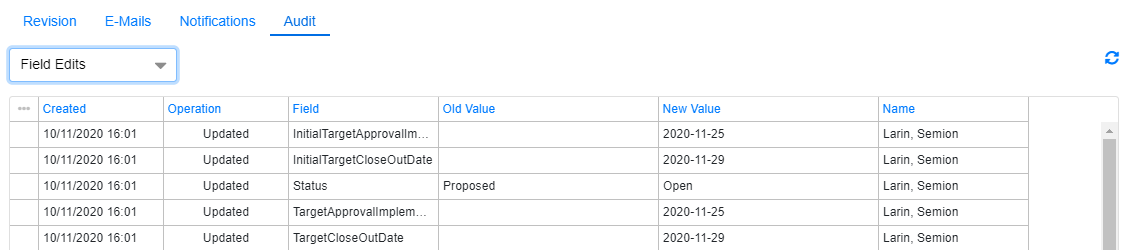
- Audit - Shows a log of changes done on the form. It is split into "Signatures" and "Field Edits". Signatures shows all signatures performed, whilst field edits shows any changes to fields.
- Revision - Lists all revisions of the form with a link to open that particular revision.
- Access Levels - Opens a list of users with access to the workflow, categorized according to the permissions type. The button will not appear if the view for the access levels is not defined in the workflow type field Access Levels Route.
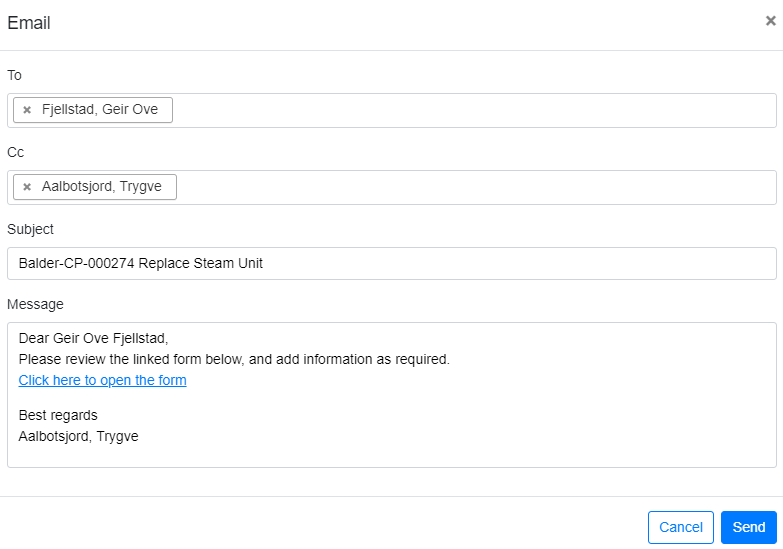
- Email - Opens a modal dialog allowing you to send an information email with a link to the form. This can be sent to anyone, but note that for the user to access the form they need the required permissions in the system.
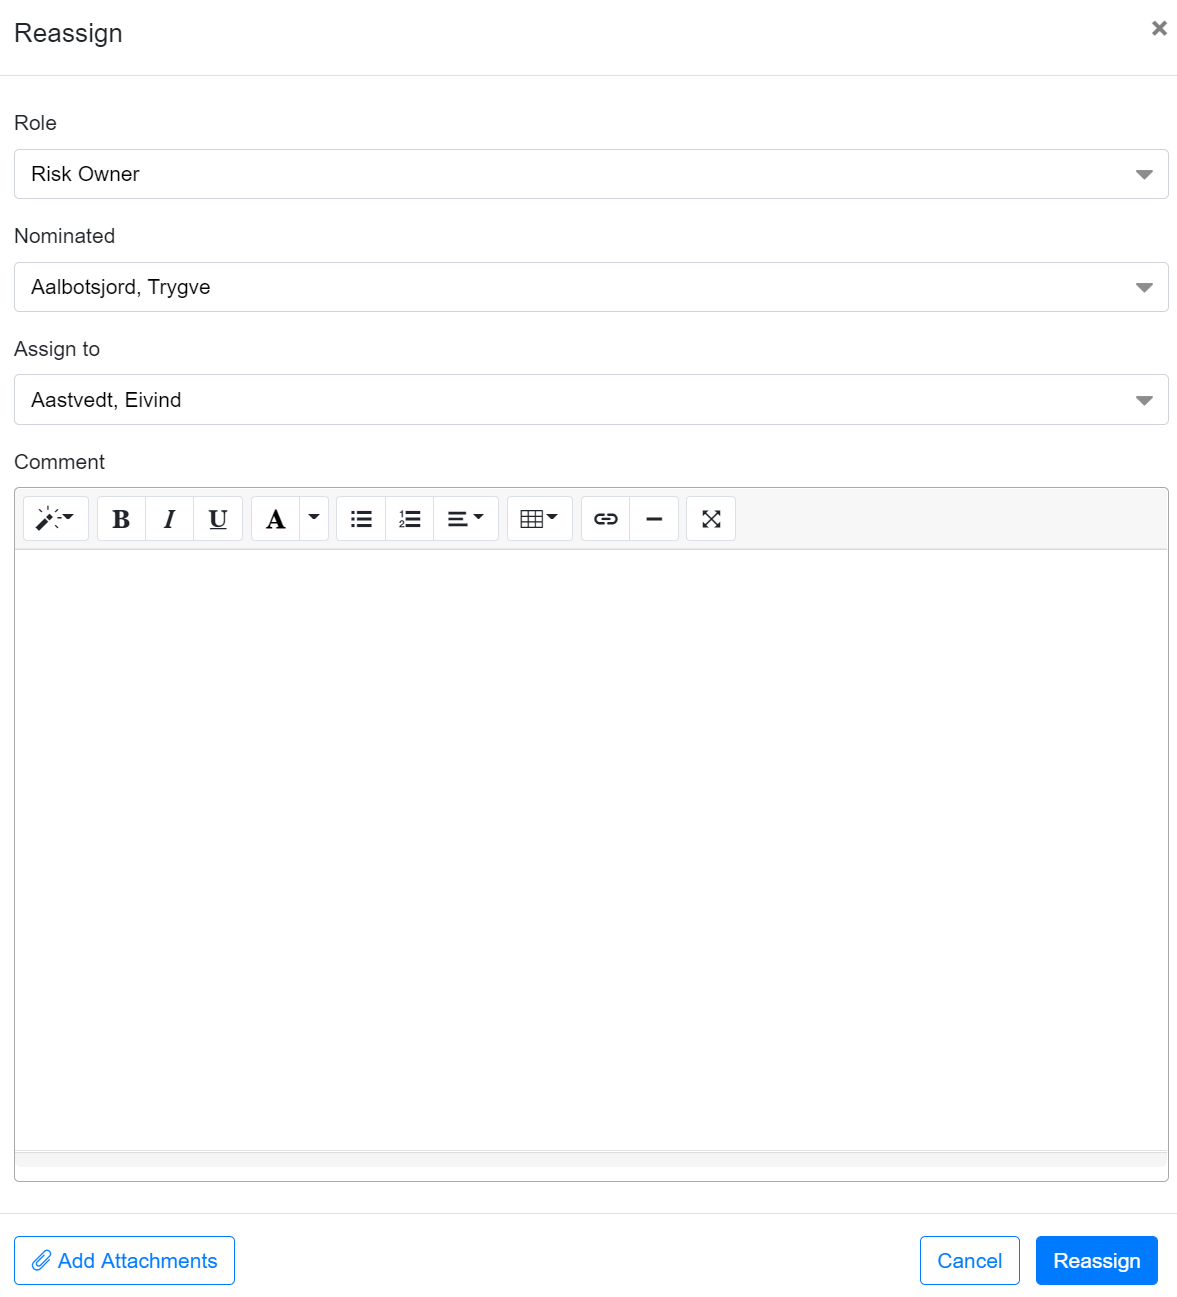
Reassign Signature
The option to reassign open signatures on the form is available from the register under the tasks menu or from the detail form in the header menu. When you click the "Reassign" option a dialog will appear allowing you to select which role you want to reassign, and if there are multiple persons in that role you will be able to select which person you want to reassign, and you will be able to select a person to assign too. Please note that any signatures already signed will not be reassigned. A comment, and if attachment if required, must be provided giving reason as to why you are reassigning the person. The comment will be put into the current open section, provided it has a comment control. When you click "Reassign" it will replace all open signatures on the form for the role selected and nominated selected. A mail is sent out to notify the persons if at the time of reassigning the nominated person was next to sign, if not the new person will receive a notification as per normal next to sign setup.
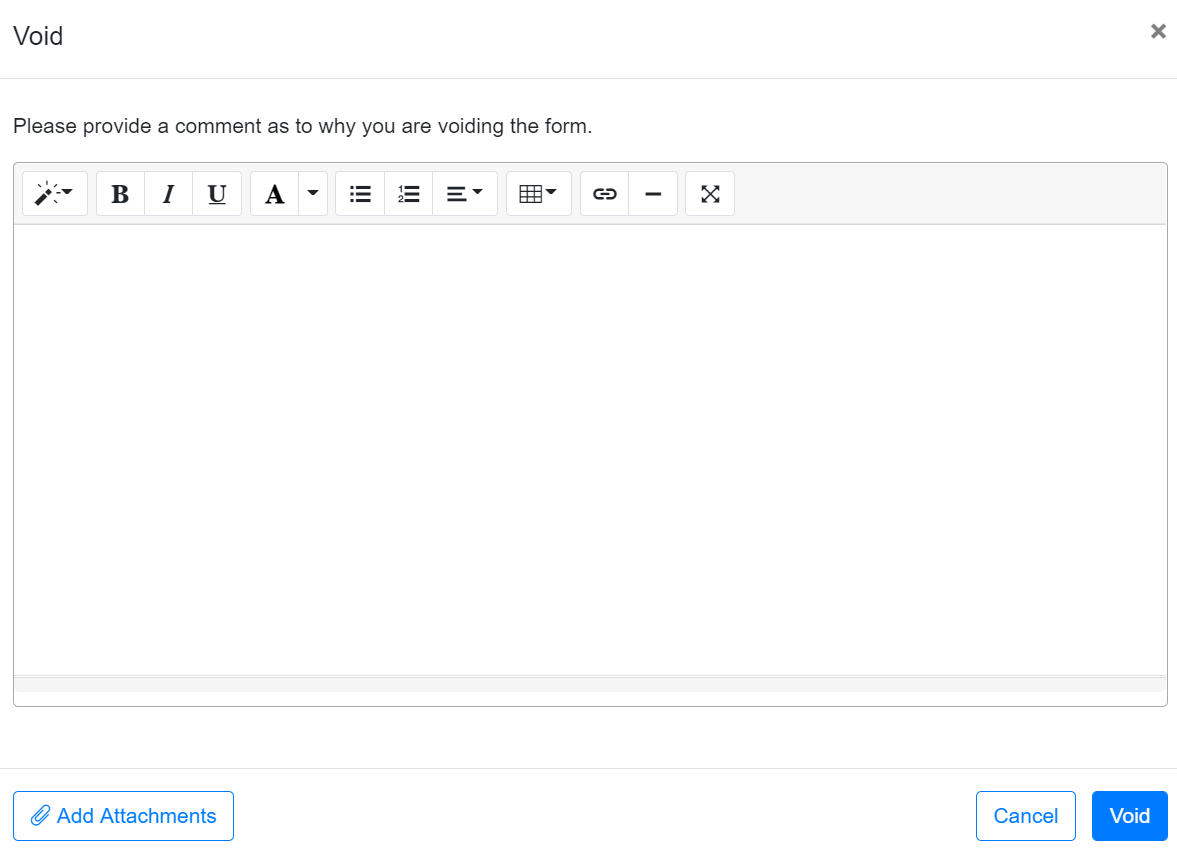
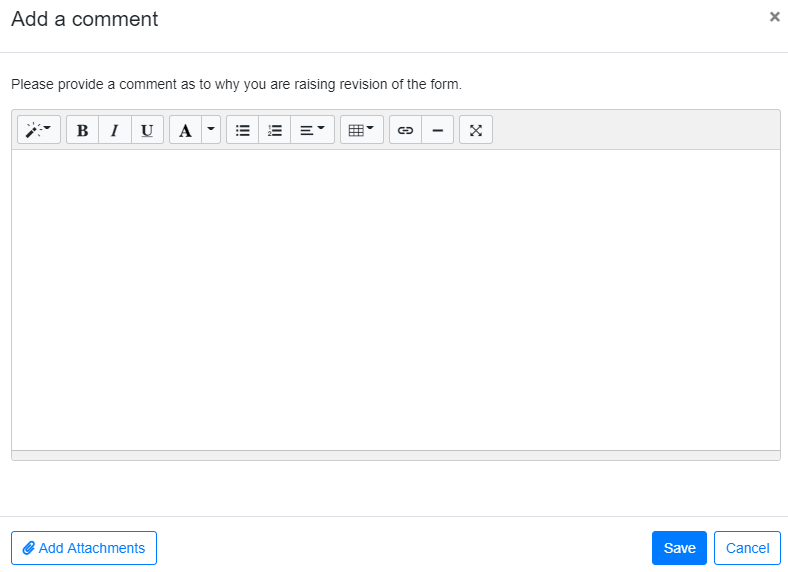
Make Void
This option is to cancel/void the form, and it can be done through the register under the tasks menu or from the detail form in the header menu. This option is only available to administrators / super users. When you click the option to void a comment dialog will appear requiring you to provide a reason as to why you are voiding the form, and allowing you to attach any attachments. When you are done you click "Void" to proceed, and the form will then get closed down with the status "Void" and the comment is added by default into the last section of the form. Void forms are configured to not be included in any KPI's.
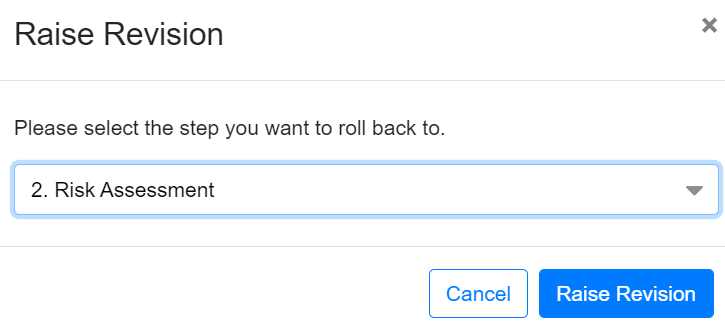
Raise Revision
This option is to raise the revision of the form, and it can be done through the register under the tasks menu or from the detail form in the header menu. This option is only available to administrators / super users. When clicking the "Raise Revision" option you will need to select which section you are raising the revision to. You can select any previous section or the current live section. Once you have selected which section to raise revision to, you click "Raise Revision" and a comment dialog will appear requiring you to input a reason as to why you are raising the revision, and any attachments that might be needed. After that you click "Save", and the revision of the form is incremented. The new revision will be loaded in and the reason provided will appear in the comment control in the section which was the current live section when revisions was performed. The person who becomes next to sign will be sent a notification letting them know revision was incremented and they are now next to sign.
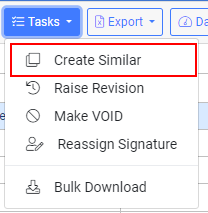
Create Similar
Create Similar option is a part of all standard workflow modules. When chosen, it creates a new workflow (AT, CDR, MOC, etc.) and automatically copies all data from the header and step 1 of the source form to the corresponding fields of the target workflow.
Mandatory Fields
Mandatory Fields on the workflow are marked with a red asterix, in addition if the field is open for the user it will be highlighted in pale yellow.
The workflow cannot proceed until all required fields has been filled. If the user is trying to proceed without filling all fields he will be prompted to fill in the missing data. These will then be highlighted in pale red.
Dynamic Workflow Process Chart
A "Dynamic Workflow Process Chart" is a visual representation that displays the configuration of processes in real time. It automatically updates and redraws the chart whenever changes are made to the workflow's business logic within Workflow. The matrix displays roles in columns and steps in rows.
The diagram features two types of decisions: "Required" and "Optional." Additionally, it includes dataflow lines, such as "Advance," "Recycle," and "Close Out/Void." Notification points are also integrated into the diagram, indicating the steps at which specific roles will be notified.
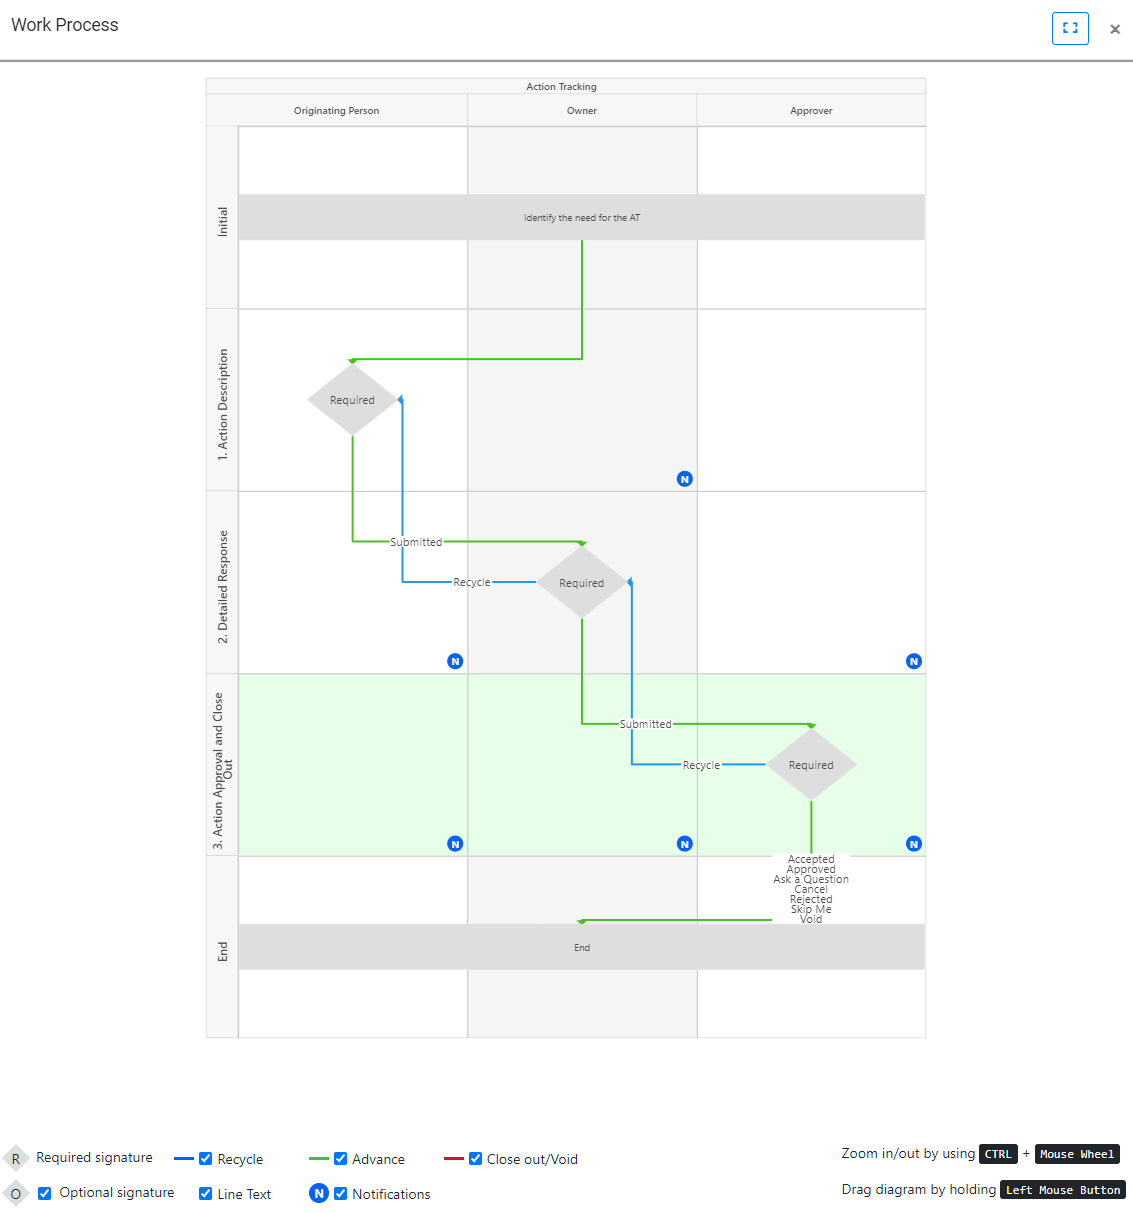
To activate "Dynamic Workflow Process Chart", navigate to the Workflow Settings and enable the Dynamic Chart option by checking the corresponding checkbox.